Mithril
Mithril is a stake-based multi-signature protocol for effiency and scalability. It allows the secure aggregation of cryptographic signatures (In this case, Cardano Stake Pool Operators running mithril signers with agreement on an aggregator). For our purposes, this means that a bunch of SPO's running mithril signers all sign and verify regular snapshots. The db snapshots themselves are not hosted on chain (that would be unwise...), but rather hosted on a fast cloud provider (Google in this case). The security and purpose comes from the cryptographic signatures that verify the snapshots.
The more stake involved in signing snapshots, the more secure the Mithril protocol is.
For our purposes, we will be downloading these signed snapshots using a mithril-client-cli. However, we are going to have to compile our own binaries this time.
Fortunately for us, this is a relatively quick process (especially compared to compiling the robust cardano-node in Haskell, since we can compile Rust crates in parallel)
Since Mithril is built with Rust, we need to install the Rust toolchain.
curl --proto '=https' --tlsv1.2 -sSf https://sh.rustup.rs | sh
Hit enter through the default options.
Once finished, source the cargo env directory.
. "$HOME/.cargo/env"
Next, we need to install a few dependencies.
sudo apt-get install -y libssl-dev make build-essential m4 pkg-config unzip
Once those have installed, we are going to make a directory, clone the repo, checkout the appropriate version for mithril-client-cli specifically.
mkdir /home/n(x)/mithril/
cd /home/n(x)/mithril/

git clone https://github.com/input-output-hk/mithril.git

cd /home/n(x)/mithril/mithril/mithril-client-cli

git fetch --tags --all

git checkout 2524.0
Next it's time to build it.
make build
While this builds, this is a good opportunity to stand up, walk around, stretch your legs, grab a coffee, talk about politics, etc.
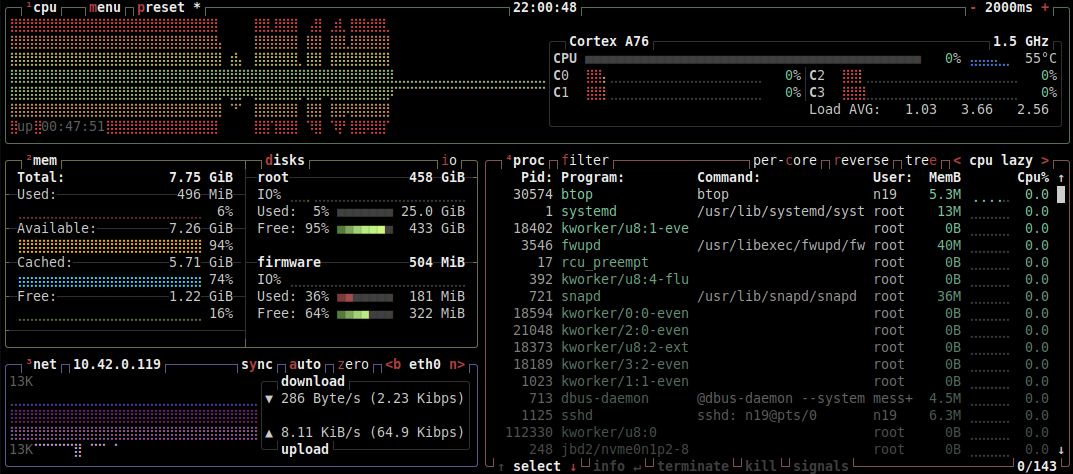
Compiling can be quite system intensive. If you'd like, while the mithril-client is compiling, open an another SSH session with your Raspberry Pi server and run the htop or btop commands to see how hard that litte machine is working. 
If you want to install btop, open a new SSH session to your Raspberry Pi and run sudo apt install -y btop
Once the build has finished, copy the files to the directory within your path.
cp /home/n(x)/mithril/mithril/mithril-client-cli/mithril-client /home/n(x)/preview/bin/
Check your mithril-client version.
mithril-client --version
Your output should look something like this
![]()
Now we are ready to pull a snapshot down and get our node synced with the chain.
First, let's set a couple of variables specific to our aggregator and network. Because we only really need to do this one time, we can just create these variables during this terminal/ssh session.
First variable is the network.
export CARDANO_NETWORK=preview
Second is the aggregator endpoint.
export AGGREGATOR_ENDPOINT=https://aggregator.pre-release-preview.api.mithril.network/aggregator
Next is the Genesis vkey.
export GENESIS_VERIFICATION_KEY=$(wget -q -O - https://raw.githubusercontent.com/input-output-hk/mithril/main/mithril-infra/configuration/pre-release-preview/genesis.vkey)
Lastly, the snapshot digest.
export SNAPSHOT_DIGEST=latest
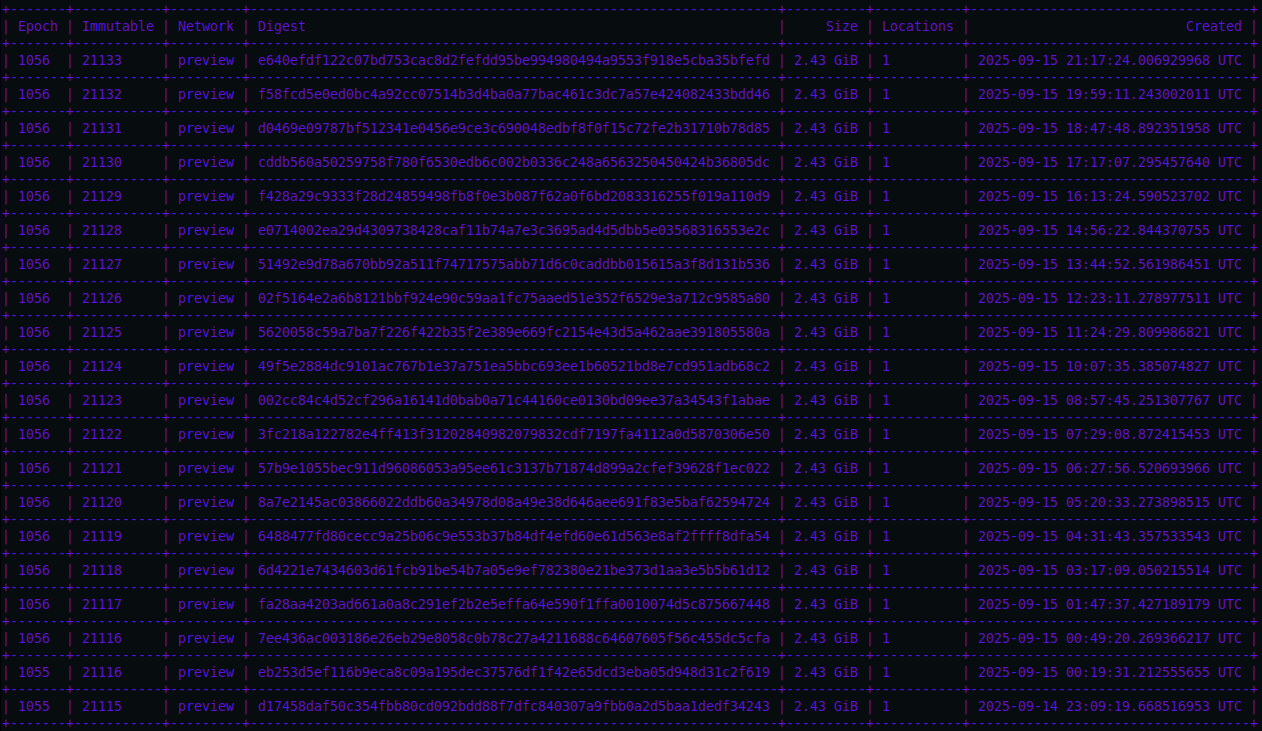
With that done, let's see what snapshots are available.
mithril-client cardano-db snapshot list
As you can see, we have a menu of snapshots available to us. (Yours will look a little different since the chain reflects the passage of time and this image was not captured while you attend this workshop)
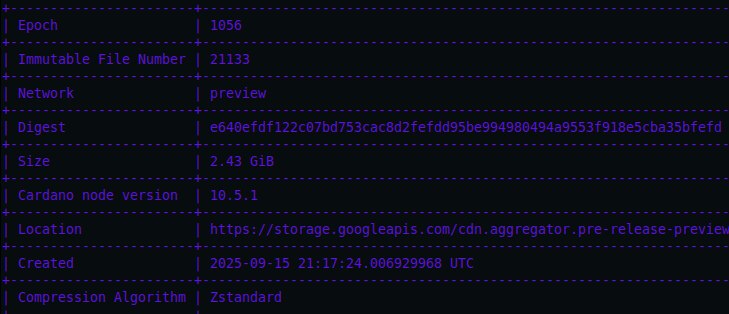
Let's expand the details on one of the snapshots. The snapshot I am going to use in these examples is not going to be the newest snapshot available by the time of this event, so if you'd like the most up-to-date snapshot, I recommend viewing your list and grabbing the most recent. (You could use mine if you wanted, it will just take longer to sync and might defeat our purpose of downloading a verified snapshot to save time...)
mithril-client cardano-db snapshot show 2c0894e86576aa702f5949044b0c6ff04e047333191c72ed34ccdea0ef87515a
This command produces the digest for the specified snapshot. This gives us critical information such as the node version.
Please ensure you are in the desired working directory as the snapshots are considerable in size.
Change to the preview directory.
cd /home/n(x)/preview
It's now time to download the snapshot. Please note your digest hash if you are using a newer one than on this guide.
mithril-client cardano-db download e640efdf122c07bd753cac8d2fefdd95be994980494a9553f918e5cba35bfefd
You should see something like this

Similar to when we built the mithril-client this is going to take a few minutes.
Once the mithril-client has finished downloading the Preview network snapshot, it's time to run the node again and see if we can get in sync.
cardano-node run --topology ~/preview/config/topology.json \
--database-path ~/preview/db \
--socket-path ~/preview/socket/node.socket \
--port 1694 \
--config ~/preview/config/config.json
You should again see the node startup output in your current session.
If you see "Replayed Block" messages, please don't worry as this is a normal security function of the Haskell node where it performs a full replay on the the database to re-process the block history of the network.
![block-replay]/img/block-replay.png
If you see this, let the process finish before moving forward. Fortunately this doesn't take nearly as long on the testnet since the ledger is much smaller. On mainnet this can take quite a while.
In another session with your server, let's check on the syncing status.
watch -n 1 cardano-cli query tip --testnet-magic 2
It might take a couple of minutes for the node to start and sync, but you should eventually see the following.
If you get the "socket 11 not found" error, it is because the cardano-cli cannot find the socket to communicate with the node. In this case, if things were done correctly, the socket file has not been created quite yet as part of the node startup process

Ok, time to kill the node again with ctrl + c, but don't worry! The next time we start the node it will pick up where it left off.